Key Takeaways
- Interior finish protection starts with measuring openings and planning access before removal begins.
- Drywall, trim, paint, flooring, and nearby furnishings can be affected by removal methods.
- The condition of the existing opening helps determine the installation approach and finish work needed.
- Correct fitting, insulation, and sealing reduce gaps that can affect interior materials over time.
- Homeowners should ask clear questions about protection, cleanup, trim, and hidden conditions.
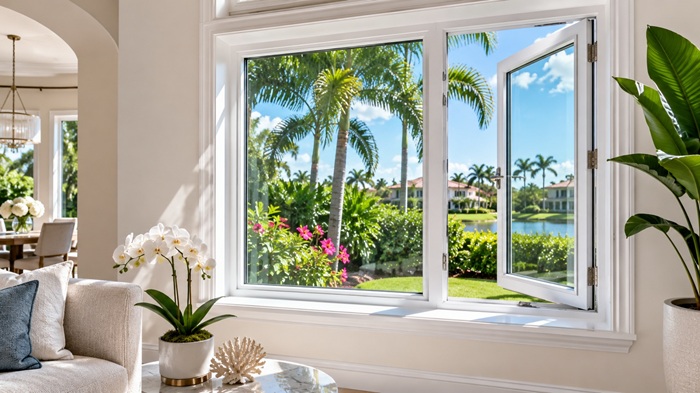
Professional installation protects interior finishes by treating the window opening as part of a larger wall system, not simply a hole for a new unit. For homeowners considering Longboat Key, FL replacement windows and doors, the work plan should account for the drywall, painted walls, trim, flooring, and furnishings that meet the opening on the room side.
A window can look excellent from outdoors yet leave avoidable interior damage if removal, fitting, or finishing details are rushed. Good planning does not promise a completely mark-free project, especially in older homes, but it greatly reduces unnecessary contact, debris spread, and last-minute decisions.
Protection Starts Before Removal
Protecting interior finishes begins before an existing window or door is removed. The installer needs to understand the opening’s dimensions, the frame condition, the type of interior trim, and which finished surfaces sit close enough to be disturbed during the work.
That early review matters because removal pressure travels beyond the old frame. A tightly painted casing can pull paint from the wall. Brittle drywall edges can crack. Flooring close to a door opening can be scratched if materials, tools, or removed components are not handled deliberately.
What Surfaces Need Protection?
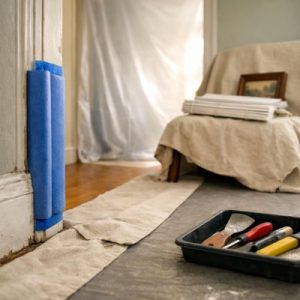
The most vulnerable interior finishes are usually painted drywall, stained or painted trim, baseboards, finished flooring, window stools, and nearby built-ins. Furniture, blinds, curtains, and wall décor also need consideration because they can limit safe access or collect dust.
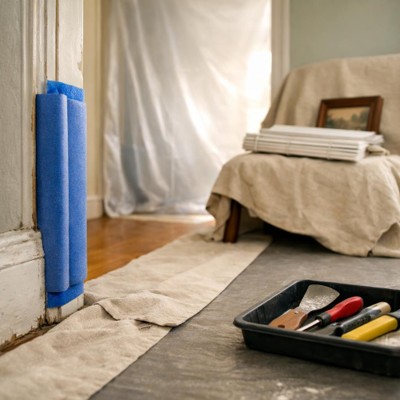
A crew should identify where protection belongs before tools come inside. Floor coverings, dust barriers, and carefully placed work materials help limit contact with surfaces that are difficult to match later, such as aged paint or wood trim with an existing finish.
Room Access Shapes the Work Plan
Room access affects how safely materials can enter and leave the house. Narrow hallways, stairs, furniture placement, and limited space around a window may require a different path for removal and installation.
Homeowners can help by clearing the area around the opening and providing reasonable access, but the work plan should still protect the room. A clear path reduces the chance that a removed sash, frame section, or tool has to be carried too close to finished walls and flooring.
How Does Site Preparation Limit Damage?
Site preparation limits damage by separating the work area from the rest of the room and protecting surfaces before removal creates dust or debris. It cannot erase every risk, particularly where older finishes are fragile, but it gives the crew control over the work zone.
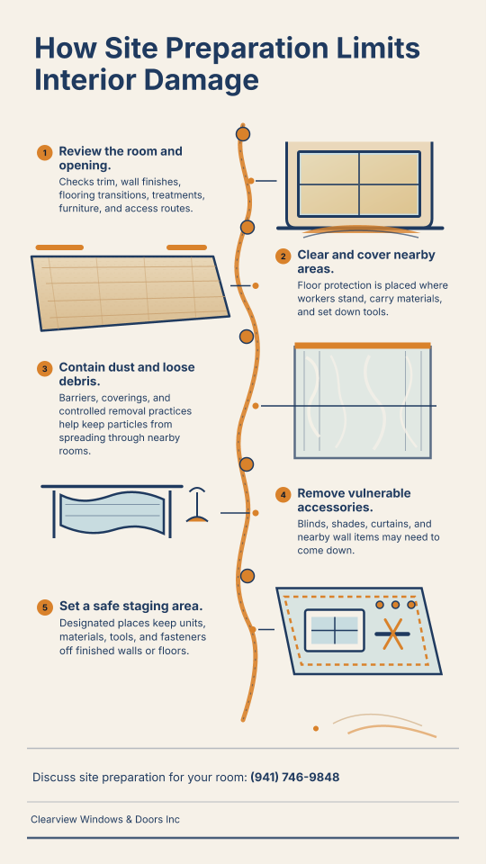
A practical preparation sequence usually includes the following steps:
- Review the room and opening. The installer checks trim, wall finishes, flooring transitions, window treatments, furniture, and access routes that could affect the work.
- Clear and cover nearby areas. Furniture is moved or covered as needed, and floor protection is placed where workers will stand, carry materials, and set down tools.
- Contain dust and loose debris. Dust barriers, coverings, and controlled removal practices help keep particles from spreading through nearby rooms.
- Remove vulnerable accessories. Blinds, shades, curtains, and nearby wall items may need to come down so they are not bent, scratched, or coated with dust.
- Set a safe staging area. New units, removed materials, tools, and fasteners need designated places so they do not rest against finished walls or floors.
Preparation also makes cleanup more effective because debris stays closer to its source. It is easier to protect a floor before work begins than to deal with scratches or embedded grit afterward.
Removal Methods Affect Surrounding Finishes
Careful removal matters because old frames, trim, drywall, wall coverings, and flooring often meet at the same narrow edge. Pulling a frame apart without accounting for those connections can chip paint, split casing, loosen drywall paper, or damage a finished sill.
The right removal method depends on how the old unit was installed and what condition the surrounding opening is in. Some windows can be removed while preserving much of the interior trim. Other openings may require trim removal or more extensive access to address the frame and wall connection correctly.
Existing Trim May Need Special Handling
Interior trim is not always decorative only. It can cover gaps, fasteners, insulation, and the transition between the window frame and wall finish. Older trim may have multiple layers of paint, be tightly caulked to the wall, or be difficult to remove without affecting nearby paint.
If preserving original trim is important, say so during the planning conversation. The crew can assess whether the trim can remain in place, needs careful removal, or should be replaced as part of creating a clean finished opening.
Window details can also affect the final appearance from both sides of the wall. Homeowners weighing grille choices may find it helpful to review window grid styles and curb appeal before selecting a design that will be visible for years.
What Happens If Hidden Damage Appears?
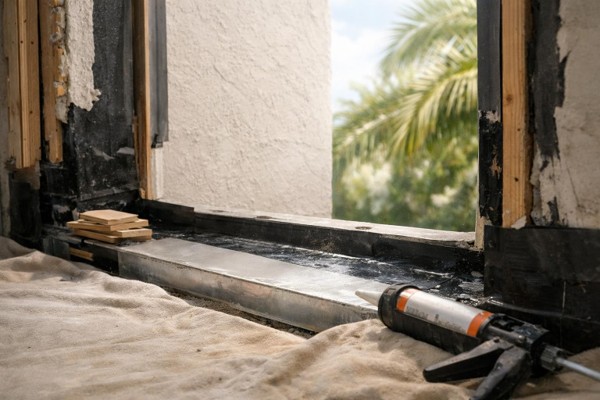
Hidden damage can change the installation approach because the new window needs a stable, properly prepared opening. Deteriorated wood, loose wall material, moisture staining, or an uneven rough opening may not be visible until the old frame is out.
The correct response is to pause, explain what was found, and discuss the necessary next steps before covering the area. Ignoring damaged or unstable material to keep work moving can lead to poor fit, recurring moisture paths, cracking finishes, or trim that no longer sits flat.
Installation Choices Have Different Interior Effects
The condition of the opening and the desired interior result guide the installation method. The comparison below shows why a homeowner should discuss both the new window and the finishes surrounding it.
| Installation Approach | Opening Condition | Interior Finish Effect | Planning Focus |
|---|---|---|---|
| Insert-style installation | Existing frame remains sound | Existing trim may stay in place | Verify fit and available glass area |
| Full-frame replacement | Frame or opening needs more access | Trim and wall edges may be affected | Coordinate finishing details |
| Trim-preserving approach | Existing casing is stable | Less interior disturbance possible | Assess paint and trim condition |
| Trim removal and replacement | Existing trim is damaged or unsuitable | New finish transition is created | Match profile, paint, and wall edge |
No single approach is automatically best. A method that preserves more trim may be appropriate for one opening, while another opening needs broader access so the new unit can be fitted and sealed properly.
This is also why a product discussion should not stop at glass, frame color, or operation style. The installation method influences what happens to the interior wall around the window after the unit is in place.
Sealing Details Protect the Finished Opening
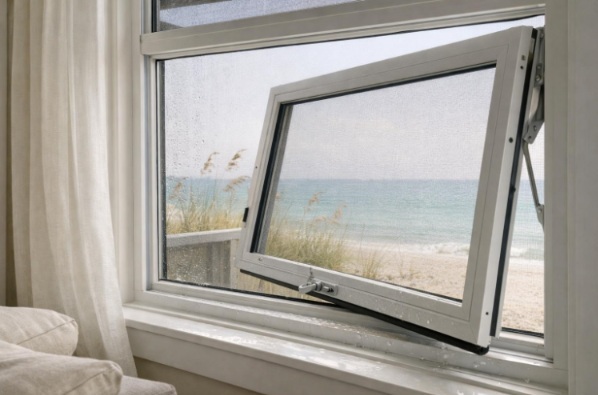
Correct fitting and sealing protect more than energy performance. They help control air movement and moisture pathways at the edges of the window or door, where interior drywall, trim, and paint are especially vulnerable to repeated changes in temperature and humidity.
The frame must sit square and securely in the opening before insulation and sealant details are completed. If a window is forced into an uneven opening or left with poorly managed gaps, the result can be difficult operation, uneven trim lines, drafts, and stresses that show up later in surrounding finishes.
How Do Gaps Affect Interior Materials?
Gaps can allow outside air and moisture to reach areas behind trim and drywall, where problems may stay hidden until staining, peeling paint, or softened materials appear. A finished wall surface is only as protected as the transition behind it.
Proper insulation and sealant work depend on the opening condition, the frame design, and the coordination of exterior and interior details. A visible bead of caulk alone is not a complete answer if the frame has not been fitted and supported correctly.
For broader protection planning, including openings intended to perform during severe weather, review the guidance on hurricane resistant walls bradenton fl. The window or door is one part of how the surrounding wall assembly performs.
Interior Trim Completes the Transition
Interior trim covers the finished transition between the new unit and the wall. It should sit flat, align cleanly with the opening, and leave no obvious gaps that invite dust, air movement, or an unfinished appearance.
Paint touch-ups and trim coordination should be discussed before work begins, especially if the existing finish is older or custom matched. Waiting until the unit is installed to decide how the trim should look can slow the project and make matching the room more difficult.
Questions That Clarify Finish Protection
Before selecting Longboat Key, FL replacement windows and doors, ask questions that connect the product choice to the condition of each room. The answers should make clear how the crew expects to protect the existing finishes and respond if conditions differ from what was visible at first.
- Which floors, walls, trim, and furnishings will be covered or moved before work starts?
- Will the existing interior casing stay in place, be removed, or need replacement?
- How will dust and removed materials be contained while the opening is exposed?
- What happens if the crew finds damaged framing or wall material after removal?
- Who handles the final interior trim transition and expected cleanup?
- Are there window and door options that better suit the current openings?
Bring photos of the rooms, note any trim you want preserved, and point out prior staining, cracks, or difficult access areas. For guidance on Longboat Key, FL replacement windows and doors, request a consultation with Clearview Windows & Doors Inc or call (941) 746-9848 to discuss the installation details that protect your interior finishes.